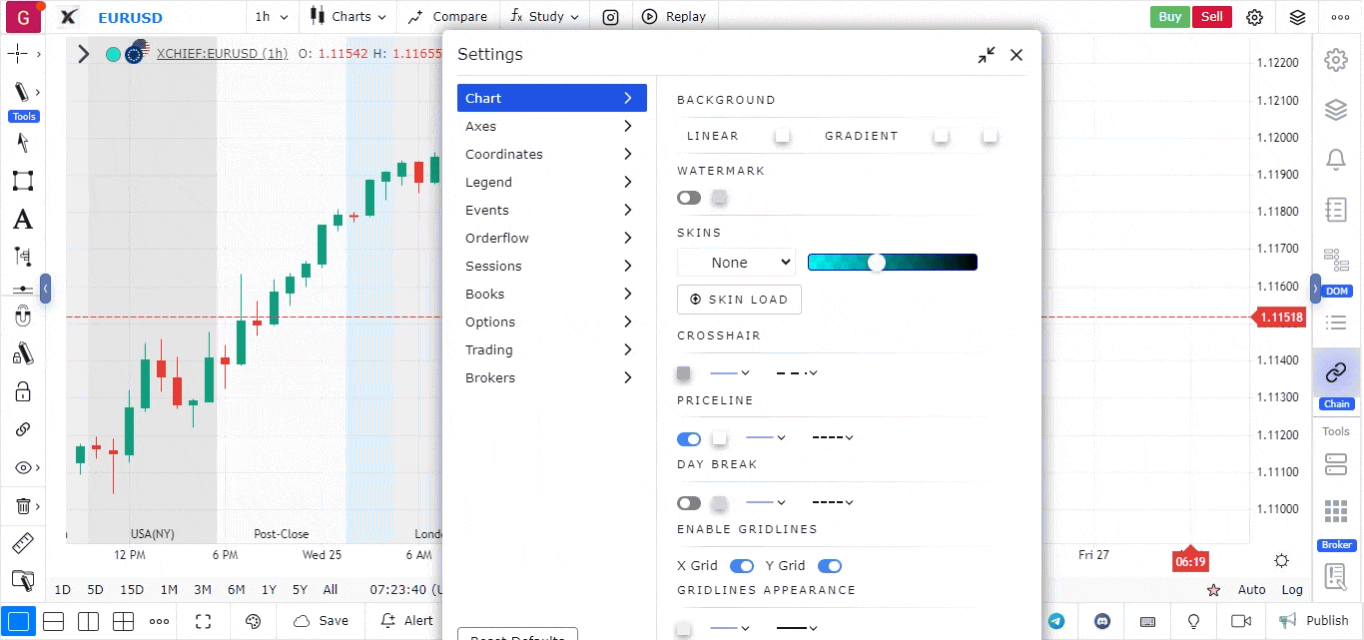
Session Settings on Chart
Displaying different trading sessions on a chart is crucial for traders to understand market activity, volatility, and liquidity throughout the trading day. Forex trading sessions are especially important, as they help traders track global market activity and make informed decisions. Here’s how to access and use the Session Settings.
Accessing Session Settings
To access the session settings:
- Navigate to the Settings icon located at the top-right corner of the platform.
- Click on Sessions from the dropdown menu to access and modify session settings.
1. In-built Sessions
The platform offers several pre-configured trading sessions to streamline the process. These include:
- Forex Market
- U.S. Market
- CME Group
- MCX (Indian Market)
To apply any of these pre-built sessions:
- Select the desired session from the list.
- Click Apply to display the selected session on the chart.
2. Add/Delete Custom Sessions
If you prefer customized session groups, it allows you to create and modify your own. To do so:
- Click on Add New Group.
- Provide a name for your custom session group.
- Click Add Session and define the following for each session:
- Name: Name of the session.
- Shading: Choose a color code for visual differentiation of sessions.
- Once you’ve added all the sessions, click Approve to finalize the group. You can create multiple sessions within a group and approve them individually.
3. Applying a Session
Once you’ve selected or created your session group:
- Choose the group from the Session Group Dropdown Menu.
- Click Apply Group to display the session on your chart.
4. Session Shadings
For enhanced clarity, you can toggle the Session Labels and Shading options. This will display the session names along with color-coded shading on the chart, making it easier to differentiate between trading times visually.
By using session settings, traders can effectively track market dynamics during different trading periods, optimizing their decision-making processes.